
IsoPOD Bioactive Kit Instructions
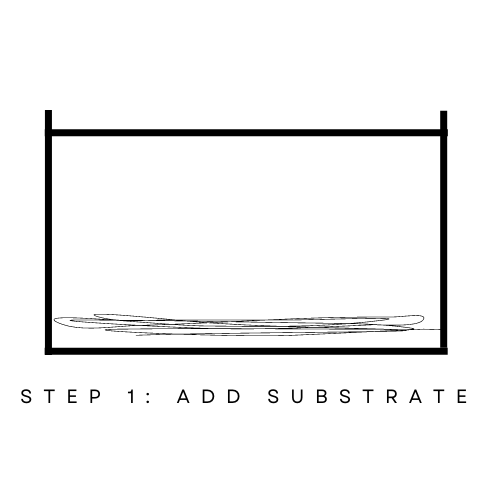
STEP 1 : PREP WATER AND ADD SUBSTRATE
Add one drop of conditioning liquid to your spray bottle before filling with tap water.
Spread your package of IsoPET Substrate evenly onto the bottom of the pod.
The substrate, or soil, does many things for the isopods to help them live and grow.
First, it holds water and keeps moisture in the enclosure, allowing your isopods to breathe. Isopods have gills like a fish, so they need water in the air around them so they can breathe. That’s why it’s important to never let the substrate completely dry out.
Second, it holds microorgansisms, or bacteria, that help break down your isopods’ poop. The bacteria also live inside the isopods to help them digest their food, just like humans!
Third, it gives some burrowing isopods a place to dig and hide. You can see the isopods run through burrows through the sides of the enclosure!
Fourth, it gives the isopods calcium. Like you need calcium to build strong bones, isopods need calcium to build strong armor.
The conditioning liquid helps remove harmful substances from your tap or well water. Be sure to only use this treated water with your isopods and springtails!

Step 2 : SPRINGTAILS
Add dechlorinated water to your springtail culture. Holding the culture over your enclosure, swirl the culture to wash the springtails into the water then gently pour the water over one side of the substrate.
TIP: Even through they’re small, springtails are great jumpers! A few may escape their cup when you swirl them, which is fine.
TIP: Don’t pour out the carbon! You can save your culture and grow more springtails.
Springtails are isopod’s tiny cousins that help break down your pets’ poop and keep your enclosure clean. They live in the soil and also need moisture to breathe.

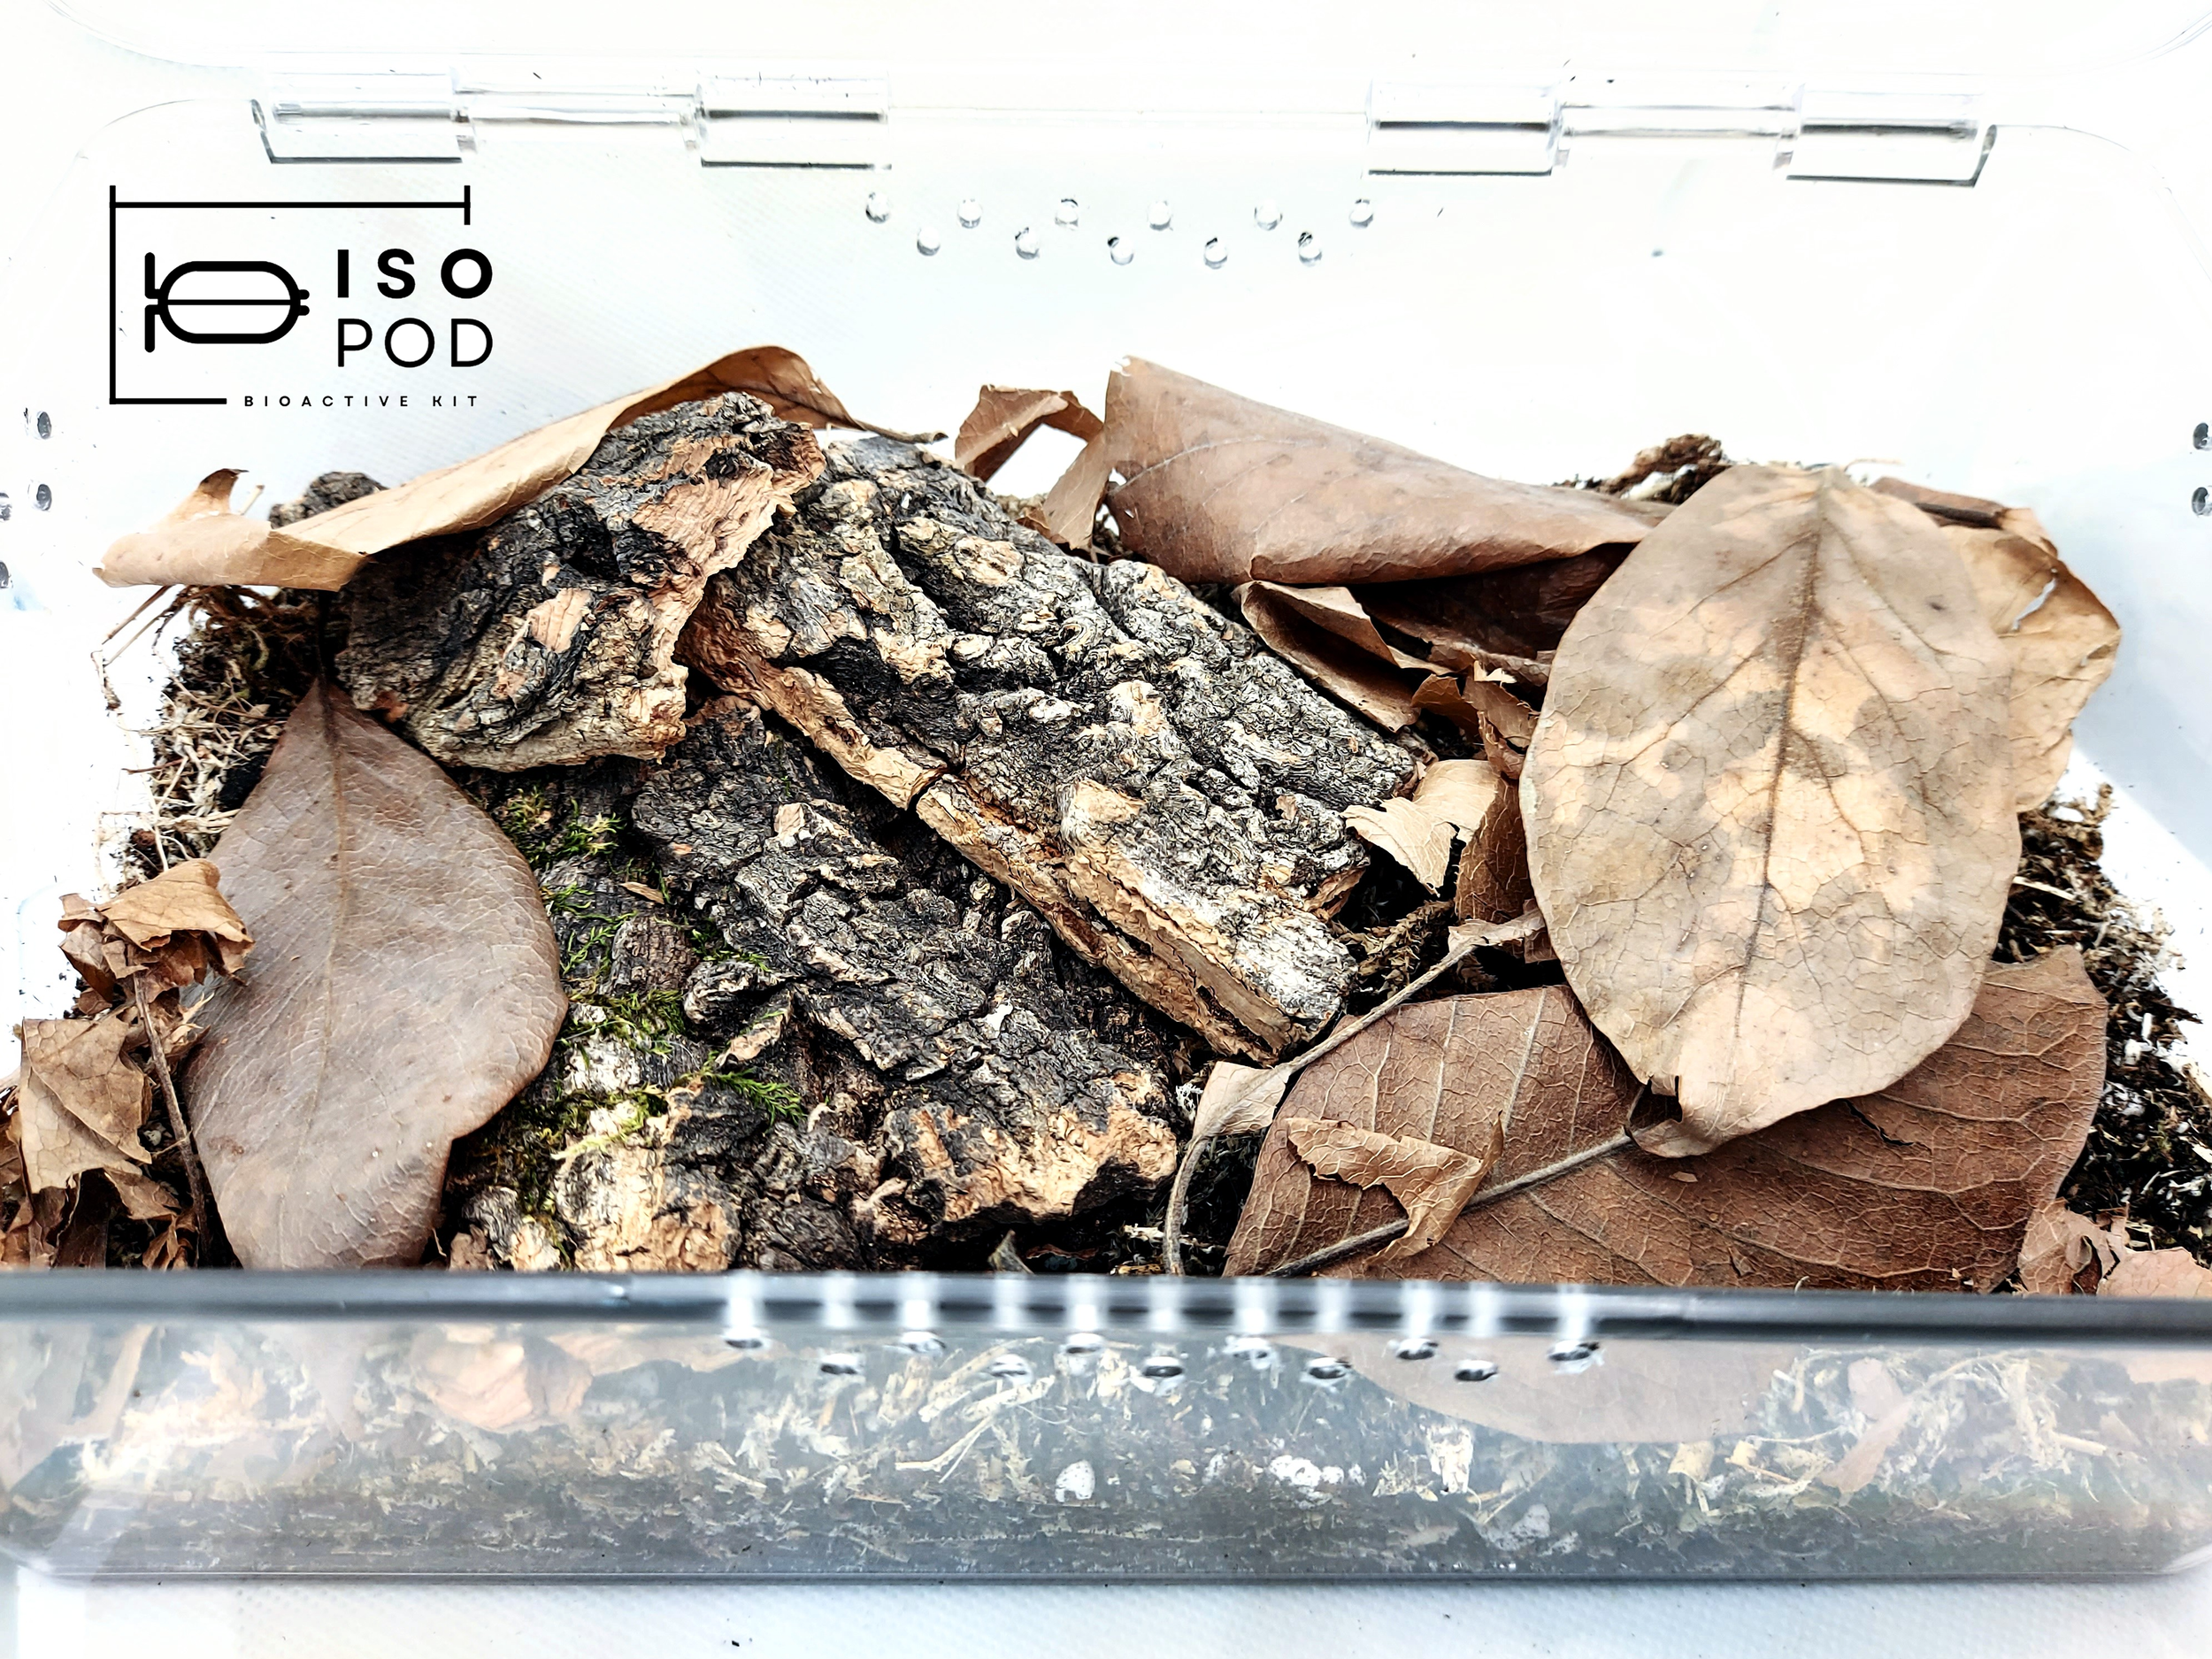
STEP 3 : ADD CORK BARK & LEAVES
Add your cork bark and leaves to the enclosure.
Believe it or not, isopods love eating leaves and wood! In the wild, they like to live in the leaf litter on forest floors and under rotting logs. Your enclosure is made to copy that habitat and your isopods will love you for it.
The space under the leaves and wood also holds moisture, letting your isopods and springtails breathe a little easier.

Step 4: ISOPODS
Tip your culture of isopods into the enclosure, moss and all.
Congratulations! You’ve just started your own isopod colony!
Set them in a place that stays between 65-75F / 18-23C and out of direct sunlight.
Spray one side of the enclosure with dechlorinated water once a week.
We recommend placing a sprinkle of IsoPET Supplement Diet on the dry side of the enclosure. Only add more when the food has been completely eaten. This will help your isopod culture grow and reproduce faster